- Buy My Party Rental Business
- Posts
- What I’ve Learned From Buying 3 Different High Peak Tents
What I’ve Learned From Buying 3 Different High Peak Tents
The pros, the quirks, and the stuff no one told me until I figured it out the hard way

Hey Future Owner,
💡 High Peak Tent Showdown: What I’ve Learned So You Don’t Have To
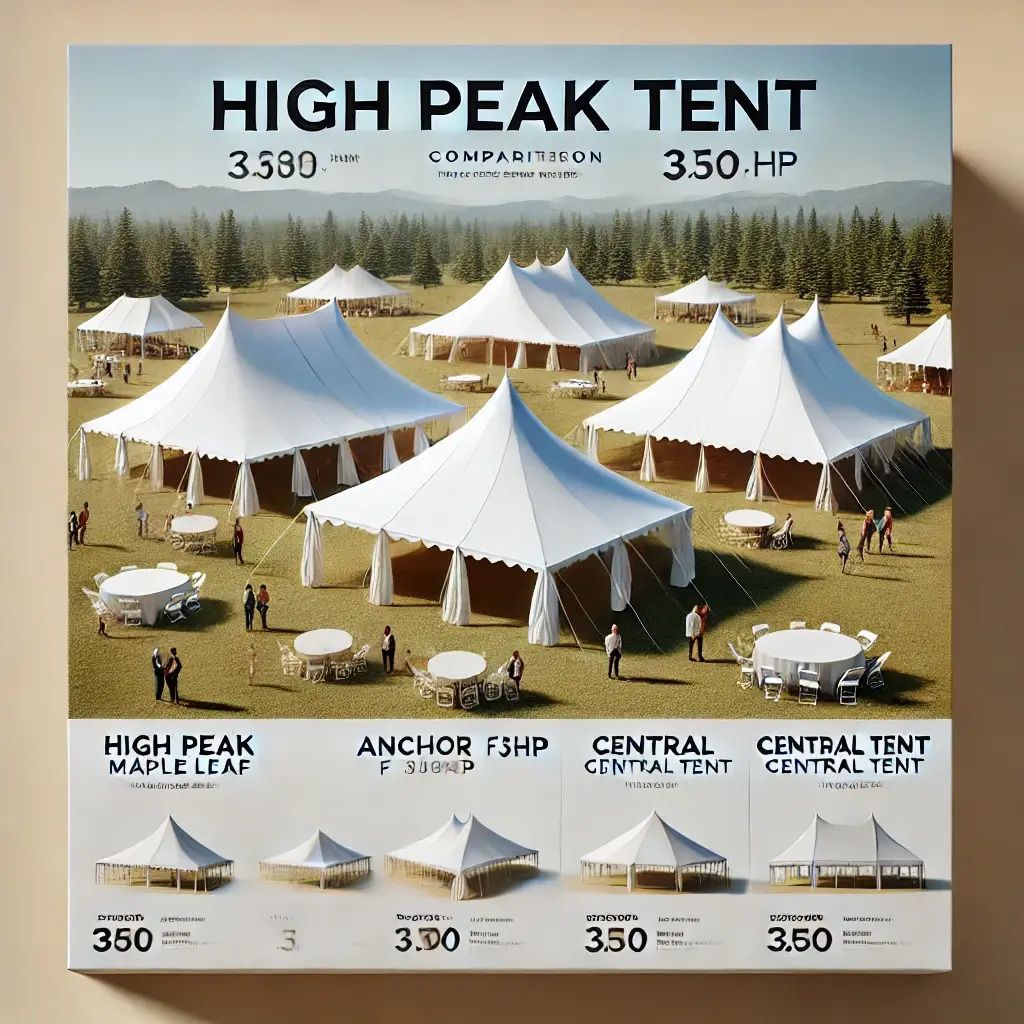
Buying tents when you're just starting out is a strange mix of research, gut decisions, and hoping you didn’t just spend $3-5K on something you’ll hate in a month. I’ve picked up three different high peak frames over the years — all from solid manufacturers, but each with its own personality. Here's an honest breakdown for anyone looking to buy their first, second, or third tent.
1. Maple Leaf 20x20 – Fred’s Tents
The dependable classic that got me started.
This was my very first tent. I can’t remember exactly why I bought it — maybe someone said something at a MATRA show that stuck. Either way, it turned out to be a solid first choice. Fred’s stuff has a strong rep, and now I get why. Over time, I’ve learned its quirks and even added a new top that came with smoother vinyl and built-in RFID tech. Pretty slick.
Oh — and embarrassing moment? I spent two whole years tensioning the top with the wrong hole (pause). Still worked. Somehow.
Highlights:
2.5” pipe frame, slides together smoothly
Foot pads bolt on — faster setup, fewer missing parts
Solid vinyl quality from the start (even better now)
We can carry the frame, fully strapped, between two people in one trip
Built-in buckles on the sides of the tent — no extra pieces to lose
No issues with water pooling
Newer tops feel smoother and come RFID-ready
Callouts:
No jump clip on the center mast (we’re just mindful of cable lean on uneven ground)
2. F3HP – Anchor Industries
Feature-rich and lightweight — but comes with extra parts and a learning curve.
I was sold on the idea of a sleek, clean setup. The keder sidewall channels looked great on paper — until I learned how expensive sidewalls are and how little they bring in. To this day, I try to talk clients out of them. But for what it's worth, the tent still looks great without them, and the attention to detail (like vinyl-wrapped cables and tidy ratchets) really stands out.
Highlights:
Lightweight frame once assembled — doable with one person (still not recommended)
Vinyl-wrapped cross cables help protect the top
Buttery-soft vinyl folds nicely
Wall rope is hidden under vinyl — clean appearance
Ratchets are short and come with Velcro strips to keep everything tidy
Center mast feels semi-integrated — inspired me to bolt other center poles, too
Callouts:
Frame is incredibly wobbly until it’s staked — very noticeable
Separate foot pads and mid buckles add extra steps — not a dealbreaker, just something to manage
Proprietary pipes (around 3”) — you’ll want to avoid drops or dents which can really complicate your set up later on
Slightly more complex setup flow than the others
3. Central Tent – 15x15 (and 20x20)
Built like a tank, with some install quirks and a few lovable headaches.
I picked up two 15x15s to create a flexible mid-tier package — use solo or pair as a 15x30. My first install was rough. The cross cables were tight tight. You need downward pressure from the opposite side and weight on another corner to get the last one on. It’s hard to describe, but once you figure it out, it clicks. This tent feels extremely solid once it’s up. Definitely the most stable of the three — and the only one I always stake through the foot pads.
Highlights:
Double barrel 3.5" pipe frame — sturdiest of the three
Flat-sided pipes = easier stacking and storage
Mid-pipe ratchets for top tension — feels super secure
Stakes go straight through the foot pads, which are now bolted to legs for speed
Made locally (to me) in Georgia — great for emergencies (not that I want to drive)
Callouts:
Transporting the pipes require more trips — frame is heavy
Frame doesn’t have loops for guy straps — gotta pre-wrap if needed
The Included tension ratchets for the tent top could be better — weakest link so far
Tension rope is too long — makes consistent height adjustments tough
Center mast holes aren’t aligned top to bottom — not a huge deal, just a little annoying
⚡ TL;DR: The Tent Table
Tent | Style Summary | Pros | Cons |
|---|---|---|---|
Fred’s Maple Leaf | Balanced + Reliable | Easy setup, great vinyl, RFID-ready | No jump clip |
Anchor F3HP | Lightweight + Refined | Clean look, soft vinyl, clever ratchets | Wobbly |
Central Tent | Heavy-Duty + Solid | Most stable, ratchet tension, clean stake design | Heavy, install quirks, no guy loops |
💭 Closing Thoughts
Veterans will tell you to pick a manufacturer and stick with them — and they’re not wrong. But if you’re small and buying one tent at a time, it’s okay to dabble. In fact, it's smart. You’re nimble now. Use it to your advantage. The business landscape is shifting quickly, and having a few options might end up being your biggest strength.
You’ll develop your preferences with each install. The important thing is just to start.
What tent should I try next? Or is it time to commit?
🚧 Following the Journey?
I’m blogging daily about the process of building this company from the ground up — sharing behind-the-scenes lessons, gear insights, and everything in between. If you’re into that kind of thing, subscribe and follow along. It’s messy, it’s honest, and it’s all part of the build.
Until next time…